Unless you want your entire village to turn into a zombie village, you must know how to cure a zombie villager in Minecraft Bedrock.
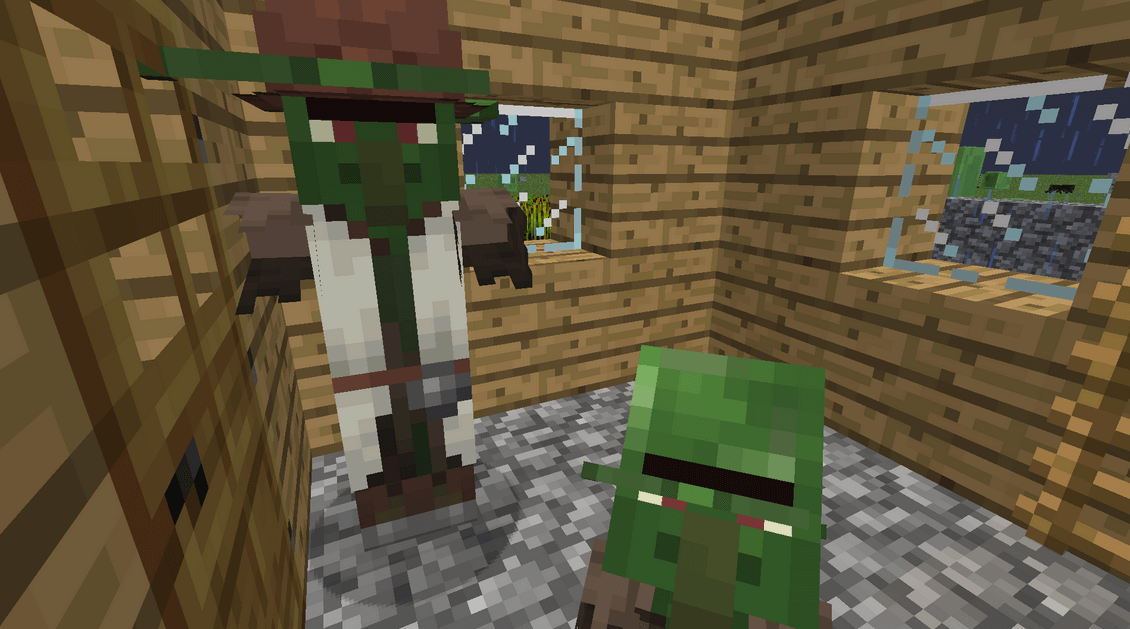
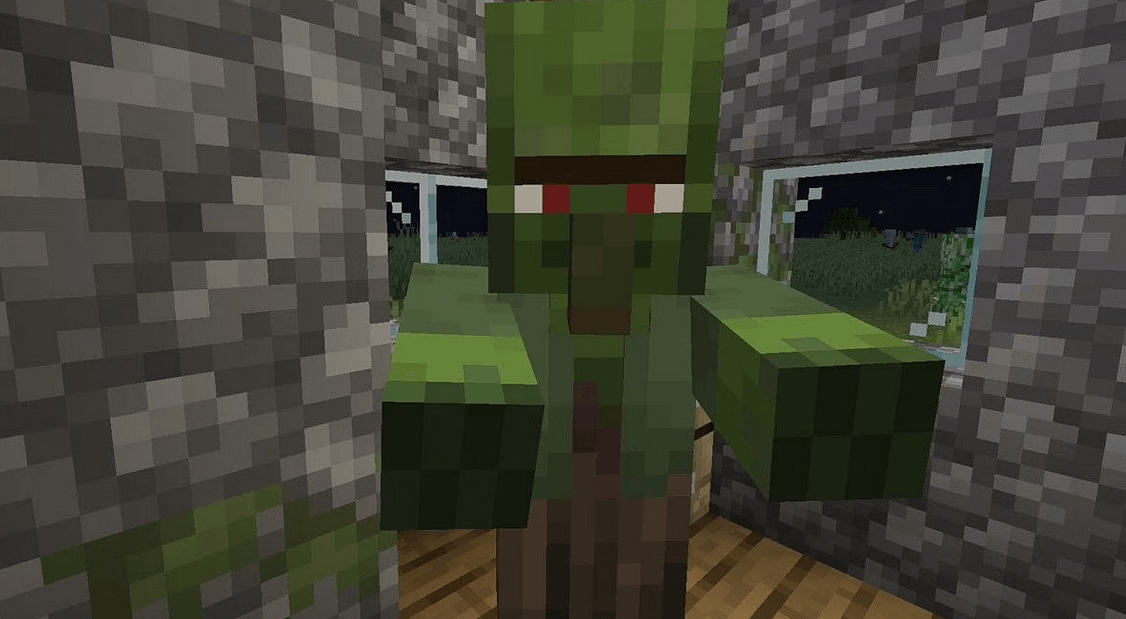
Zombie villagers are hostile and they do not display their professions. They don’t have any benefits. Instead, they will attack players within a 40-block radius.
But, before you learn how to cure zombie villagers, here are a few things you need to know about zombies in Minecraft.
How zombie villagers spawn
A zombie villager spawns in two ways. First, they can spawn when zombies spawn (it’s usually a 5% chance). Secondly, if a zombie attacks and kills a villager, the villager transforms into a zombie villager. The chance of transforming depends on the level of difficulty you’re playing.
- Easy = 0% chance of transforming.
- Normal = 50% chance of transforming.
- Hard = 100% chance of transforming.
After being turned, the zombie villager adopts the behavior and movement of a normal zombie. For instance, they see villagers through walls, pick up items they come across, and become hostile and attack players and wandering traders. The only exemption is that they don’t convert to drowned when submerged in water.
READ: The best villager trades for emerald in Minecraft
The baby zombie villagers are 30% faster than the adult normal zombies, and they can ride wolves, ocelots, cows, mooshroom, spiders, mules, pigs, adult chickens, adult zombies, and several other animals and characters.

How to heal a zombie villager
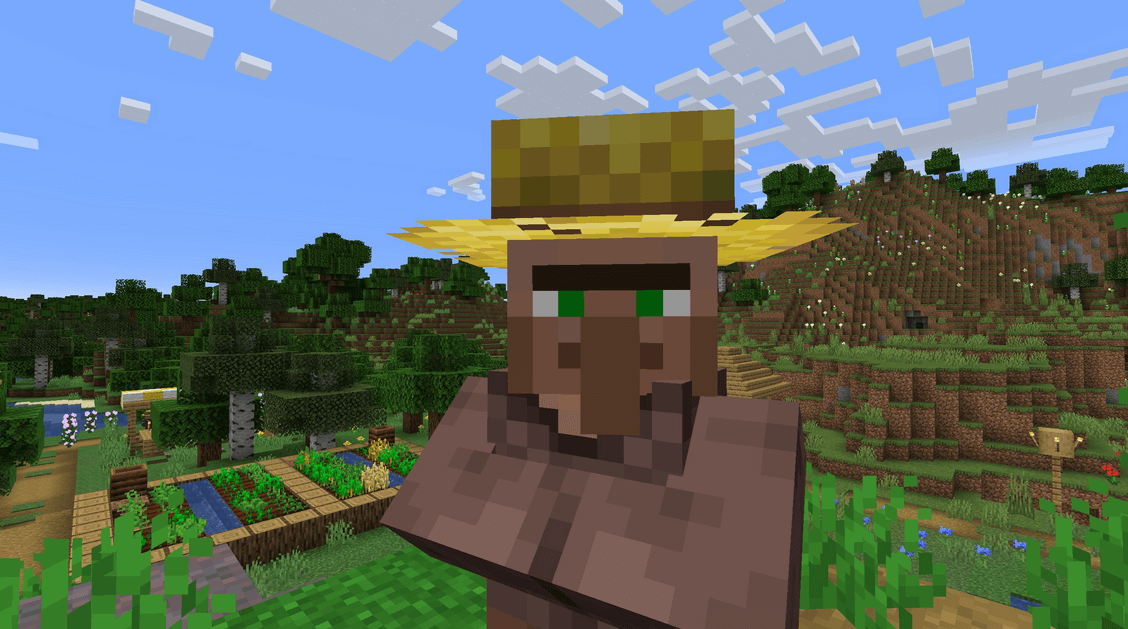
You can cure zombie villagers/baby zombie villagers and turn them back into normal villagers or normal baby villagers.
Here are the steps to follow:
Step 1: Get the curing ingredients
The items needed to turn a zombie into a villager include:
- Splash potion of weakness: To make the splash potion of weakness, you’ll have to mix 1 gunpowder and 1 potion of weakness in a brewing stand menu. After brewing, move it to the inventory.
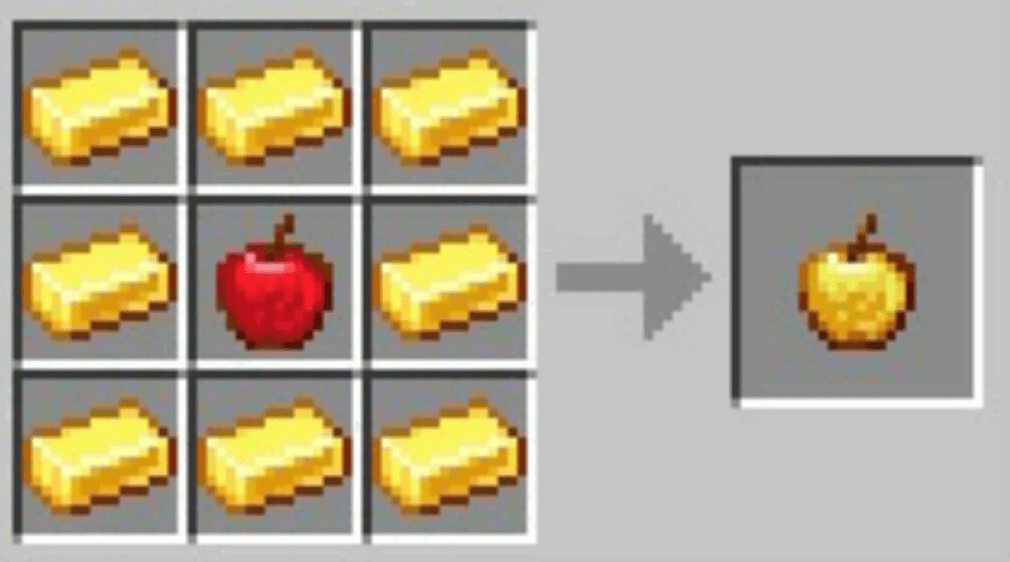
- Golden apple: A golden apple is crafted using 1 apple and 8 gold ingots on a 3×3 crafting grid. The apple is placed in the middle square while the gold ingots fill the remaining squares.

READ: How to make a leash in Minecraft
Step 2: Find the zombie villager and secure it
After finding the curing ingredients, look for the zombie villager and trap it in a secure place.
This ensures it doesn’t escape or attack the player since it gains a lot of strength while being cured.
Step 3: Heal a zombie villager in Minecraft
Throw the splash potion of weakness to the zombie villager to weaken its zombie characteristics. If you don’t want the player to get close to the zombie villager, get a witch to throw the potion for you.
The game controls for using the splash potion of weakness on different Minecraft versions are:
- Java Edition (PC/Mac): Right-click on the zombie villager.
- Pocket Edition (PE): Tap on the zombie villager.
- Xbox 360 and Xbox One: Press the LT button on the Xbox controller.
- PS3 and PS4: Press the L2 button on the PS controller.
- Wii U: Press the ZL button on the gamepad.
- Nintendo Switch: Press the ZL button on the controller.
- Windows 10 Edition: Right-click on the zombie villager.
- Education Edition: Right-click on the zombie villager.
The duration of the potion’s effect depends on your Minecraft edition:
- Splash potion of weakness I on Minecraft Bedrock: 1 minute 7 seconds.
- Splash potion of weakness II (extended) on Minecraft Bedrock: 3 minutes.
- Splash potion of weakness I on Minecraft Java: 1 minute 30 seconds.
- Splash potion of weakness II (extended) on Minecraft Java: 4 minutes.
Once the zombie villager starts to weaken, feed it the golden apple. Use the controls for throwing the splash potion of weakness above.
Usually, the zombie villager’s eyes will turn red as red spirals float around its body. The curing lasts 1-2 minutes (Bedrock edition) or 3-5 minutes (Java edition).
You can leave and come back after the process, wait around, or save and reload your world to skip the entire waiting time (Bedrock edition).

What next after curing a zombie villager?
Immediately it turns back into a normal villager; it drops any items it had picked previously and recovers its profession and inventory (if it had traded with a player at least once). However, it can change to a different profession if it claims a workstation block for another profession.
When the villager resumes trading in its profession, it offers a permanent trading discount to the player who cured it. If you cure the villager more than once, the discount increases after every curing process until the price gets to a minimum of 1 emerald. The villagers near the cured villager will also be affected and offer smaller discounts to the player.
READ: How to use cocoa beans in Minecraft
Conclusion
Congratulations, you’ve just learned how to cure a zombie villager in Minecraft Bedrock. Now, put the knowledge to work and be ready to enjoy the crazy trade discounts from the cured zombie villagers.
